
 notepad
![[articles]](https://eev.ee/theme/images/category-articles.png)
Well. That was the idea, anyway. SPOILERS: It didn’t work.
Vladimir Costescu has upped the ante and bought a day of my time this month, requesting:
It would be cool to read about you tinkering with a Raspberry Pi or similar cheap device and trying to get it to do cool stuff (where “cool stuff” is left up to your discretion).
Well it just so happens that I already have a Raspberry Pi. I got it at PyCon US, I think three years ago, when they gave every single attendee a Pi for free. I thought it was super duper cool and I spent a whole afternoon tinkering in their Raspberry Pi lab and then I came home and put it in a drawer forever because I had no idea what to use it for.
At first I thought it would be cool to rig something that would download a random wad from idgames (like vectorpoem‘s WADINFO.TXT) and just launch it and let you play it. A teeny tiny portable Doom box.
Then I realized you’d still need a mouse and keyboard (well, at least a keyboard) to actually play, which is a little bit more cumbersome and detracts from the portability a bit.
But I remembered hearing about a Linux-only project that had managed to interface with the Wii U GamePad. Run ZDoom on a light wireless controller with gyros and everything? That sounds awesome.
So off I went.
Preliminaries
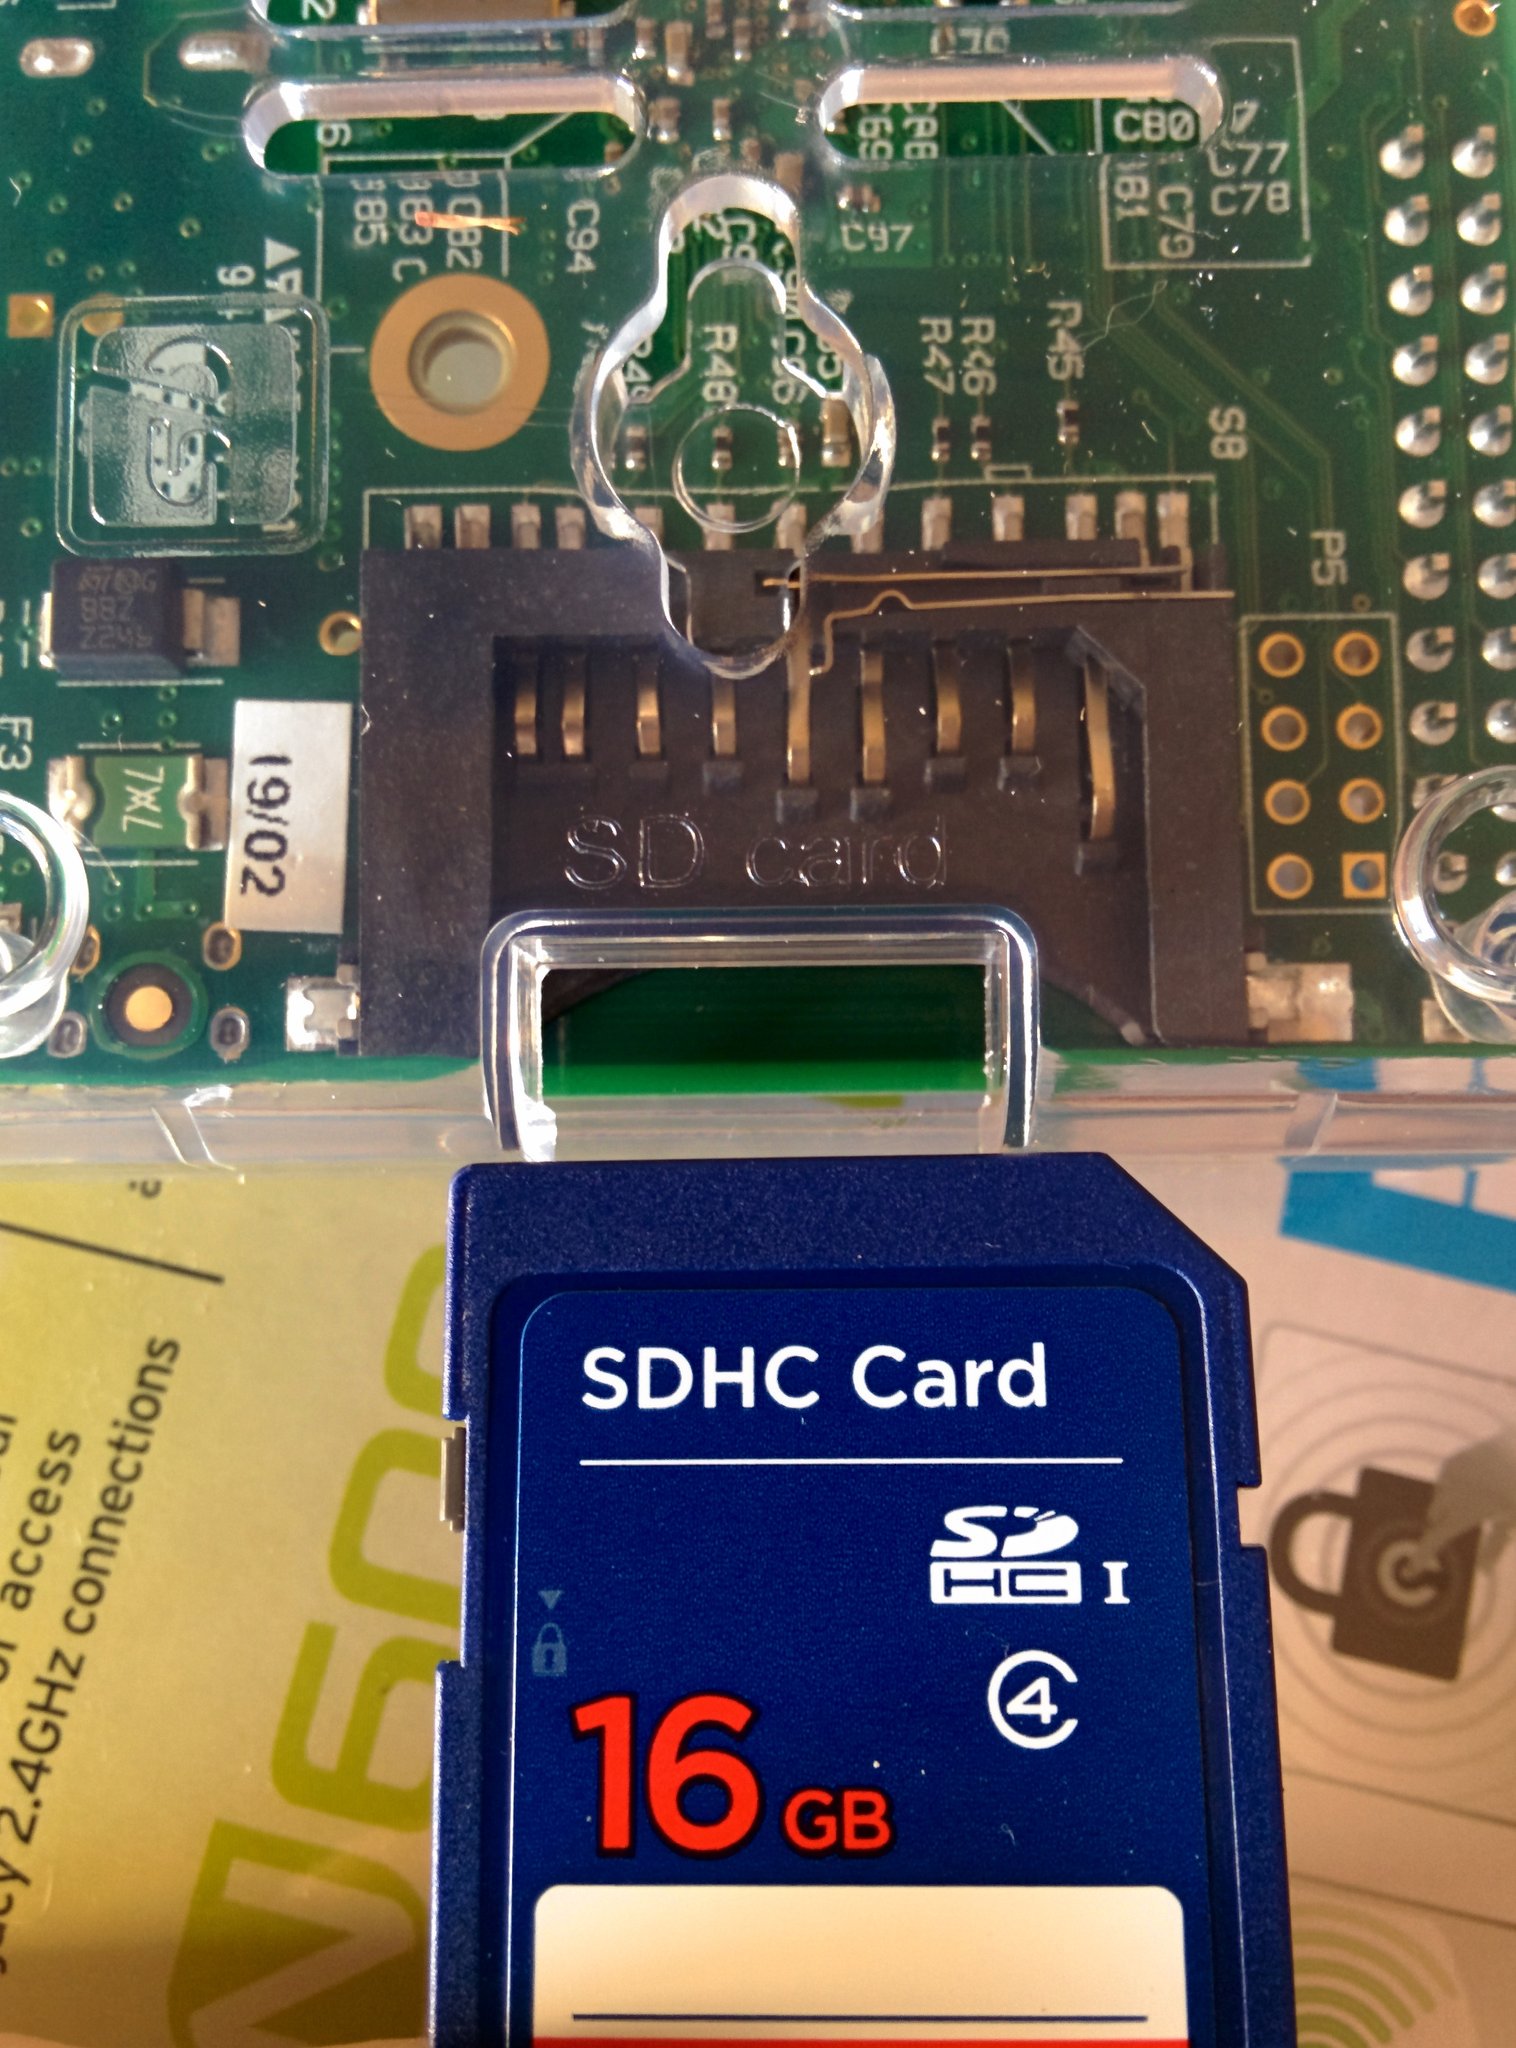
I plugged in my Pi, and soon discovered it had been so long that I’d forgotten it doesn’t actually have any on-board storage. I couldn’t find my original SD card, though I did find an old one I’d used in a 3DS. It’s possible I looked at the Pi card, saw it was a Linux distro, assumed I’d used to install Linux on a toaster, and used it as my new 3DS card instead. Oops.
I grabbed a Pi boot image, but it was over 4GB, and the old 3DS card was only 2GB. So I bought a new card off Amazon and waited two days.
Then I found out my trusty ancient multi card reader USB dongle doesn’t actually support SDHC, so I had to dust off my System76 laptop, scp -C the image over, and write it with the built-in card reader.
Success! The Pi turned on.
Failure! The GamePad communicates via 802.11n, and I don’t have a recent WiFi dongle on hand. Back to Amazon, and another two days. This time I bought a case as well, so I wouldn’t just have a plain bare circuitboard sitting around in a house full of cats.
WiFi dongle arrived. Case also arrived. There were some minor issues.
Apparently the Raspberry Pi 2 Model B is different from the Raspberry Pi Model B Revision 2, which is what I have. What a great naming scheme.
I still wanted a case, but returning this one wasn’t worth it, so I just bought another. Total cost:
- 16GB SD card: $7.49
- Wrong Raspberry Pi case: $8.90
- Right Raspberry Pi case: $9.99
- WiFi dongle: $23.69
- Total: $51.89
Given that I’m only being paid $60 to do this in the first place, I’m sure glad I already had the Pi.
You can see we’re already off to a great start. Onwards!
Connecting to the GamePad
I followed instructions from someone’s blog (always a reliable source), which for the most part are what’s in the libdrc documentation.
Also, the project is called libdrc. I don’t know why. You’d think libwiiupad would be a better name. I can’t believe there aren’t already fifty different projects named libdrc.
Step 1: Modified WiFi stack
If you’re not familiar with hacking on Nintendo products, they seem to have a habit of using lots of well-known standards, then slightly fucking them up to spite you. It was thus no surprise to learn that I would need to compile a modified mac80211 module, the Linux wireless stack.
Well, that’s easy enough according to Some Blog. Just clone a repo and build it:
1make -C /usr/src/linux-headers-VERSION M=/home/USERNAME/drc/drc-mac80211/
And here, we hit our first roadblock. You see, Rasbian (the modified Debian used as the standard Raspberry Pi distro) doesn’t ship with kernel headers. And they’re not in apt. This seems really fucking weird for a tiny hacker computer intended for hacking on.
This is a problem that strangely few people seem to encounter, and I had to cobble together instructions sprinkled in various places and spanning several years: the Raspberry Pi forums from 2012; StackOverflow last month; and someone else’s blog, fairly recently but inexplicably insisting that you build the entire kernel. On a Raspberry Pi. Yeah no.
First you need to get the git commit hash of the firmware the Pi is running. These are listed in the bootloader changelog.
1firmware_hash=$(zcat /usr/share/doc/raspberrypi-bootloader/changelog.Debian.gz | grep -Pom 1 '(?<=firmware as of )[0-9a-f]{6,}')
That’s probably not totally reliable since the changelog might be typed by hand, but whatever.
You can then use that to get the commit hash for the Linux kernel you’re running:
1linux_hash=$(curl -L https://raw.github.com/raspberrypi/firmware/$firmware_hash/extra/git_hash)
Now, uh, I don’t really want to git clone the entire Linux kernel. You’d think git clone --depth=1 might help here, and you’d be wrong, because you can only git clone starting from a branch or tag — not an arbitrary commit. Alas.
Turns out, though, that you can just ask GitHub to give us a tarball.
1wget -O rpi-linux.tar.gz https://github.com/raspberrypi/linux/tarball/$linux_hash
Alas! The Pi disk image only comes with half a gig of free space, and the Linux kernel source won’t fit in that. My card is 16GB, though, and expanding a live filesystem via command line is way less harrowing than ye olden days of fdisk.
1sudo parted /dev/mmcblk0 resizepart 2 100%
2sudo resize2fs /dev/mmcblk0p2
df -h confirms I now have 11GB free. Cool beans. tar -zxf rpi-linux.tar.gz, wait a minute or two, and I have a raspberrypi-linux-59e76bb.
At this point I’ve long since forgotten what the hell I was even doing. Right, right, wireless module.
So now I have to “prepare the kernel for module builds”. Disclaimer: I’ve built a few Linux kernels in my time, but it is not a simple topic and I have no idea what I’m doing. These shell commands I found on the Internet seem totally reasonable though.
1# this makes /proc/config.gz exist
2sudo modprobe configs
3zcat /proc/config.gz > .config
4# i...  why is this "old", i don't know, whatever
5make oldconfig
6# this says "prepare" which makes it sound like it'll be fast, but it makes
7# a lot of .o files which i'm pretty sure involves compiling!!
8# but it only takes a few minutes.
9make modules_prepare
Lastly I need Module.symvers, which, clearly, is about symbolic versions, of modules, I guess. I think it lists module dependencies because I forgot to get it and the build complained it didn’t know anything about module dependencies. You can get it from the firmware repo:
1wget https://github.com/raspberrypi/firmware/raw/$firmware_hash/extra/Module.symvers
Finally, we can—
Step 1: Modified WiFi stack
At this point I briefly wonder why we need a modified wireless stack, so I check out the repo. It has only a single patch, and a libdrc changelog containing only:
* Exports the Wi-Fi Time Synchronization Function to userland.
Okay, sure, that sounds important.
The provided repo is actually super ancient (very early 2014) and no longer builds against the current kernel. It’s a good thing that there’s only a single patch, and it only adds a new function — it was super duper easy to just reapply the patch against my shiny new kernel sources.
1wget -O mac80211.patch https://bitbucket.org/memahaxx/drc-mac80211/commits/4a9823cf2a6733bc15a05cffaebd8850d07451a7/raw/
2cd net/mac80211
3patch -p1 < ../../mac80211.patch
4cd -
Aaaand finally build it.
1make M=net/mac80211
Success! Now I just have to unload the stock module and the various drivers using it, in the right order, then load the new module and drivers.
1sudo rmmod rt2800usb rt2x00usb rt2800lib rt2x00lib mac80211
2sudo insmod net/mac80211/mac80211.ko
3sudo modprobe rt2800usb
STEP 1 COMPLETE. It is now 8:30pm. I started this around noon. All I’m even doing is following someone else’s blog post. This is ridiculous.
Step 2: Connect to the console
The idea is to tell the console that you want to sync a new pad (by pressing the sync button twice), and it’ll show you a code of four symbols on the screen which you then enter on the pad. These symbols are actually used to construct a WPS pin for the console’s access point. Also, the console always uses the same four symbols. So we want to get the pin, use that to connect to the console, get the WPS key out of the handshake, and then use that key to pretend we’re the console and have the pad connect to us.
Apparently there’s a way to do this by pretending your Linux machine is a Wii U seeking for a GamePad to pair with, which sounds easier than this nonsense, but it’s undocumented. Or, rather, documented as “TODO: document this”.
I killed off wpa_supplicant, which was already running on the Pi and likely to try interfering with my subsequent shenanigans. No NetworkManager or anything fancier to worry about.
I’m basically just following the libdrc docs now. Grabbed the hostap fork. Cded to wpa_supplicant. Copied defconfig to .config. Set CONFIG_WPS=y, CONFIG_TENDONIN=y. (I only realized later what TENDONIN is, after seeing it written as “tendoNin”. It’s a light jab at the modification Nintendo made to the WPS handshake: it rotates part of the response three bytes to the left.)
I needed libssl-dev, which Some Blog failed to mention. Tut, tut. I’d also like to take this moment to stress how very silly and irritating it is that Debian packages header files separately.
You can read the directions if you like. The goal here was to get the Wii U to show up in a scan:
118:2a:7b:89:4e:69 5180 -42 [ESS] WiiU182a7b894e6182a7b894e69_STA1
Success. My Wii U said its code was ♥ ♦ ♦ ♥, which meant the pin was 12215678, which I supplied with wps_pin, which completely didn’t work at all and only gave me FAIL.
Some brief head-scratching led me to realize that “FAIL” means “you need a BSSID and you gave me an ESSID”. Can you believe anyone would get those things confused or fail to understand that error message? Ha, ha.
Okay so the BSSID is the thing that looks like a MAC address, but isn’t, because whoever designed this hates all that is good and pure in the world.
wps_pin succeeded this time, and some things happened, and now I had the PSK, which I assume stands for “pre-shared key” because it looks a lot like a key:
1psk=be0ae49c48579bef3dcfd28ce8014ba0947d572d2b7280296eace2a8ee5daecc
Please don’t hack my Wii U. Or, please do hack it and then tell me how on Earth you managed it.
Step 3: Run a hotspot
Now we can pretend to be the console. I had to build a modified hostapd from the same repo, for the same reason.
I tried to run it and got this error:
1Line 53: unknown configuration item 'ieee80211n'
Apparently you have to set CONFIG_IEEE80211N=y in the build config, which makes a lot of sense given that the pad uses 802.11n to communicate. I have no idea why nobody mentioned this.
I hit some more minor stumbling blocks; that WiiU182a7b894e6182a7b894e69_STA1 mess above turns out not to be the SSID, but rather the ESSID. Or… maybe it’s the other way around. I don’t know. Or care! But that one is wrong, and the one that’s actually right is in get_psk.conf and looks like WiiU182a7b894e69.
I also had to compile a teeny-tiny DHCP server called netboot and give my wireless interface a static IP, and finally…
1sudo ./netboot 192.168.1.255 192.168.1.10 192.168.1.11 18:2a:7b:b0:5d:bd
2sudo ./hostapd -dd ../conf/wiiu_ap_normal.conf
With both of those running, I could turn on the pad and see it successfully handshake with the Pi. Woohoo!
Step 4: Build a patched x264
Yes, naturally, Nintendo is using their own variant of this as well. Please stop telling me the Pi has h.264 hardware decoding.
This was pretty painless, if a bit slow. Then I built libdrc itself, and all was well, and I ran a demo and just got “Illegal instruction”.
Hmm. Let’s back up.
x264 has a bunch of ARM-specific assembly that relies on some floating-point features the Pi doesn’t have. The advice is to just configure it with --disable-asm.
So I did that. And set it about compiling again.
It took an awful long time.
We’ll come back to this.
Building ZDoom
This was pretty easy, actually. It took three or four hours, and I did have to fix one minor bug that I hope I’ll remember to upstream, but it built. And worked! Almost.
I did have to manually set vid_forcesurface to true in zdoom.ini, which… does… something… that makes a segfault not happen. But then it worked!
Thanks, by the way, to the brilliant individual who recently did all the actual work to make ZDoom work on a Pi.
I had a brief read of the libdrc docs, and it sounded like all I had to do to draw to the screen was pass a big ol’ array of pixel data to a function. That sounded like something that should be pretty easy with ZDoom (which renders entirely in software), and hopefully the compile cycle would be pretty short with master already built.
Before we worry about that, let’s see how x264 is coming along.
It's still not done
This is really weird. I left it overnight and it still didn’t finish. It gets to encoder/analyse.c, takes a moment, spits out a bunch of warnings, and then busy-loops forever. strace revealed weird brk or mmap2/munmap loops. lsof didn’t show any activity. It wasn’t swapping, and it was still very gradually using more memory, but it didn’t seem to be doing anything.
Debugging GCC is not in my skillset, and Twitter wasn’t sure what the problem was either. It took a good few hours to bumble upon something that actually fixed it: patching configure.
1-    echo $CFLAGS | grep -Eq '(-mcpu|-march|-mfpu)' || CFLAGS="$CFLAGS -mcpu=cortex-a8 -mfpu=neon"
2+    echo $CFLAGS | grep -Eq '(-mcpu|-march|-mfpu)' || CFLAGS="$CFLAGS -mcpu=native"
3
4    if  cc_check '' '' '__asm__("rev ip, ip");' ; then      define HAVE_ARMV6
5        cc_check '' '' '__asm__("movt r0, #0");'         && define HAVE_ARMV6T2
6-        cc_check '' '' '__asm__("vadd.i16 q0, q0, q0");' && define HAVE_NEON
I ran it again, without --disable-asm, and tried make. It finished in five or ten minutes. Christ.
Awesome let's try that again
At some point I’d rebooted to free more RAM and modestly overclock the Pi, to see if that would pacify x264 (it did not). So I had to juggle modules again, kill wpa_supplicant again, set my IP again.
I ran netboot and hostapd again, aaand it refused to start.
1channel [0] (36) is disabled for use in AP mode, flags: 0x57 NO-IBSS PASSIVE-SCAN
Come on. Nothing changed!
Long story short I was in the “00” regulatory domain, and I had to install iw and set myself as in the US domain. I don’t know why this only happened after a reboot. Maybe because the stick was plugged in when it booted? I don’t know. Computers.
Okay so let's try that again, really
Right! Here we go! Let’s pair the pad and run demos/3dtest/3dtest from the libdrc repo!
1Missing OpenGL extension: ARB_pixel_buffer_object
Ha, ha! No problem; I don’t actually need OpenGL at all. Let’s try the simpleaudio demo, which shouldn’t need GL either.
1Segmentation fault
Uh oh.
And this is it, dear reader. This is where my story ends. I wrote a trivial app of my own against libdrc that did nothing but stream a solid color to the pad, and that too segfaulted. I ran it under gdb, and gdb hit an assertion error trying to get the call stack. I know it died somewhere in my distro-provided libswscale, but I don’t know where or why or who called it. I’ve already sunk two days into this, and I am not prepared to debug gdb.
I give up.
Final results
Here’s all I have to show for my effort:

ZDoom, running on a Raspberry Pi, at 14 fps. I suppose it’s some consolation that it wouldn’t have been playable anyway?
It’s kind of a shame, since this is the part that took the least effort by far, and someone else really did all the work. But then, the hard parts were all just following straightforward instructions. I don’t know what I’ve learned here. No one loves ARM, maybe.
It was a fun way to spend a weekend (it’s the weekend, right?)! But I still don’t know what to do with my Raspberry Pi, and I suggest you just run ZDoom on a full-size computer. Or a toaster.